New York City is a complicated place to photograph. On one hand, it is one of the grandest, most awe-inspiring, fastest moving, and most diverse locations in the world – it is a photographer’s dream, but it is also one of the most photographed places on the planet.
We have all seen thousands of the same New York City photography compilations and hundreds of television shows and movies showing us romanticized views of the city. We hold mental images of what we think New York should look like from these, but there is much more to the city than exploring the billboards of Times Square.
“The ballet of the good city sidewalk never repeats itself from place to place, and in any once place is always replete with new improvisations.” ~ Jane Jacobs, The Death, and Life of Great American Cities.
Table of Contents
New York City Photography Guide
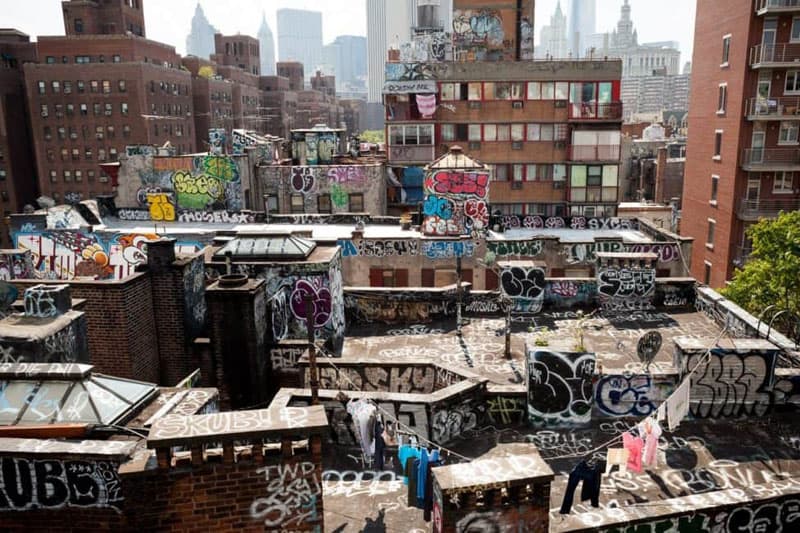
I’ve lived here my whole life and have photographed New York City extensively for the last 14 years. I’ve taught photography tours and workshops to travelers from all over the world, and that has helped me better understand how people perceive New York. Here are some of my favorite tips to help people understand the city and to get the most out of their photography in New York.
- Don’t miss my Ultimate Guide of the Things to do, the best neighborhoods and Where to Stay in New York City – Top Places and Hotels For All Budgets
1. Take the typical tourist photos of New York City

When I work with photographers, I so often hear them sheepishly say things like, “Oh, I’ve just been taking the typical tourist photos.” There’s nothing at all wrong with ‘tourist photos.’ Tourist photos are some of the most incredible views in New York, which is why they are so popular. Read: 30 Best New York Views – Where to See the Manhattan Skyline
You should go and take your favorites with a nice camera so that you can create a gorgeous print for your wall, website, or for a travel book. By all means, get these photographs.
Tips for Taking New York Photos

When you take these photos of New York City, try to take them at the right times of the day. If you are going to take a shot that everyone else takes, make sure it’s as good as it can possibly be. Go out in the best lighting conditions (often early morning, late afternoon, dusk, and night), and consider going out in the rain or snow. Bad weather often yields the most beautiful photographs.
2. Take unique and weird photographs
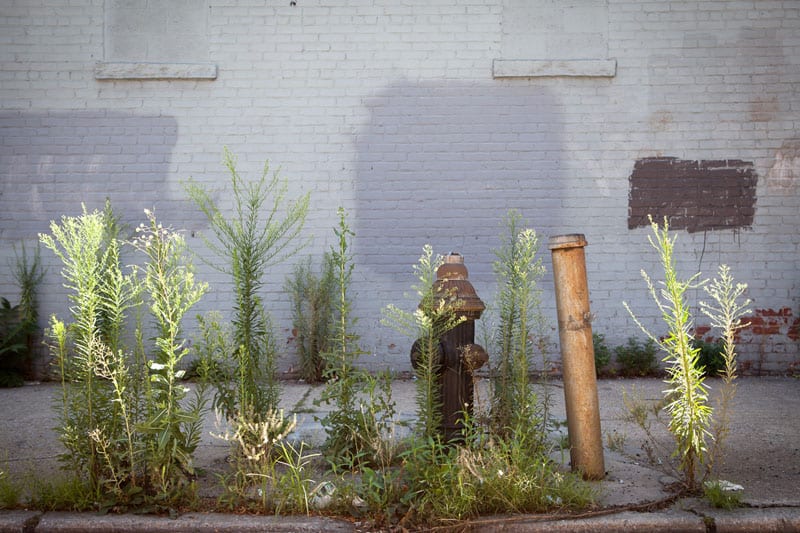
That being said, it’s important to spend some of your time going beyond the typical photographs. Many people know exactly what they want to capture before they even set foot in the city, but the real beauty of New York is that it so often surprises you.
Read the guidebooks, have an idea for the type of shots you want to get, but then also allow some time for serendipity to happen, as it usually will. Cut out those preconceived notions of what the city should look like.
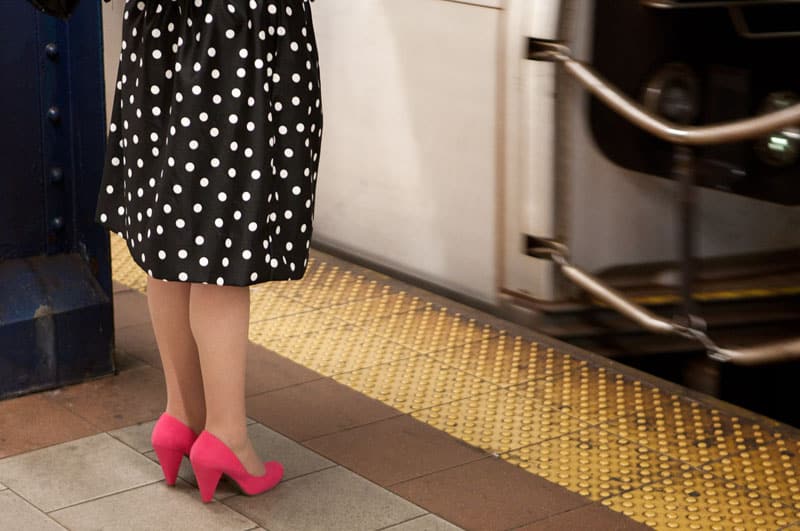
Wander, get lost, have no agenda but take photographs, and take what New York gives you. These photographs will be unique, and they will not be able to be created by anyone else.
3. Try Street Photography of New York
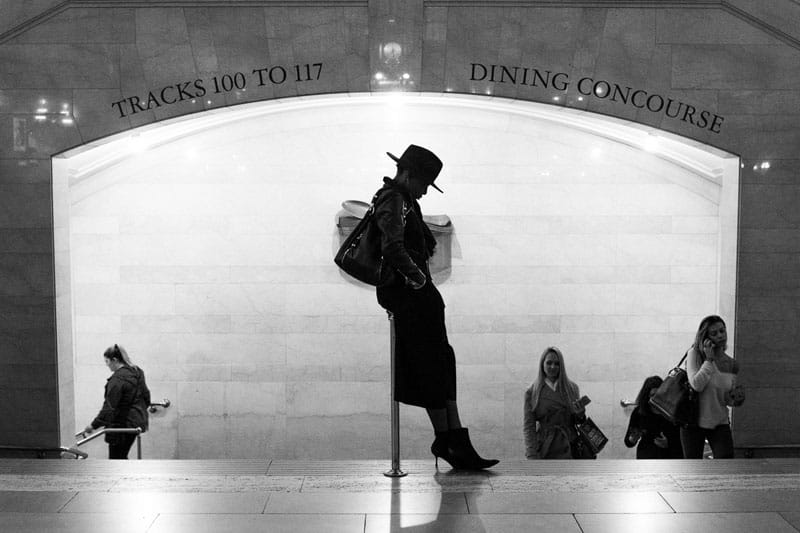
As incredible as the scenery is, the people of New York are the most interesting aspect of the city – so photograph them! Street photography is the art of candidly capturing people going through their everyday lives.
It was made popular by Henri-Cartier Bresson, Robert Frank, and Garry Winogrand (who spent most of his life standing on 5th Avenue capturing photographs of everyone who passed by).
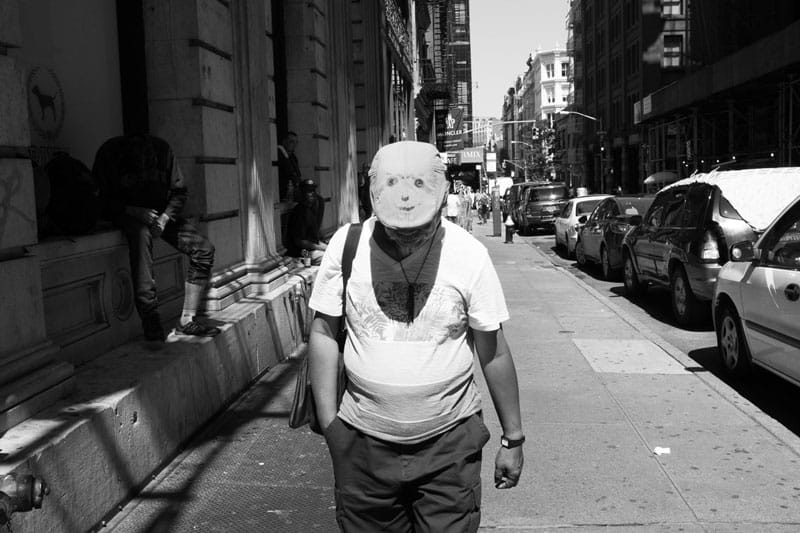
Capturing people candidly and without their permission can feel a little creepy, and it kind of is, but as long as you have good intentions it’s not that bad. I’ve been doing it for 14 years and have never had a bad experience.
If ever anyone stops you after you have taken their photograph, just smile and tell them that you were capturing the people and culture of New York and thought they looked fabulous – flattery is key! If they continue to seem annoyed, offer to delete the photograph. It’s as simple as that.
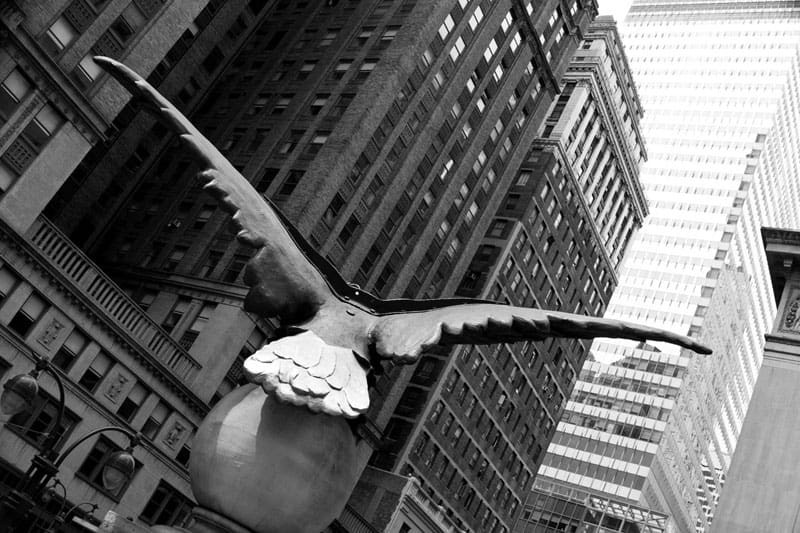
But most people will not notice you in the slightest. New York is possibly the easiest place to learn street photography in the world because it is so crowded, people are in such a rush, so many people have cameras, and people come to the city to be seen. You’ll find that you will have more positive experiences than negative ones.
- Looking for more travel photography help? Read How to Improve your Photography with Filters
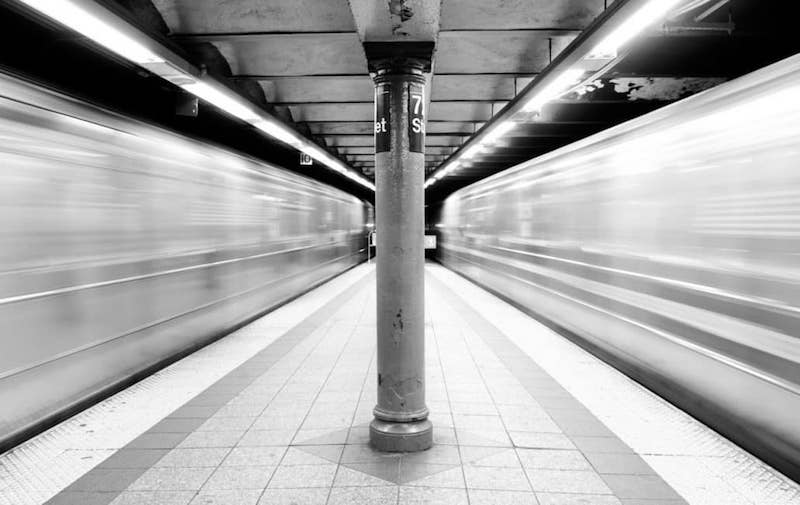
Pay attention to expressions and the looks in people’s eyes. Expressions in faces or gestures in bodies can add feeling to street photographs. It allows viewers to relate more to the person in the image and what they are feeling.
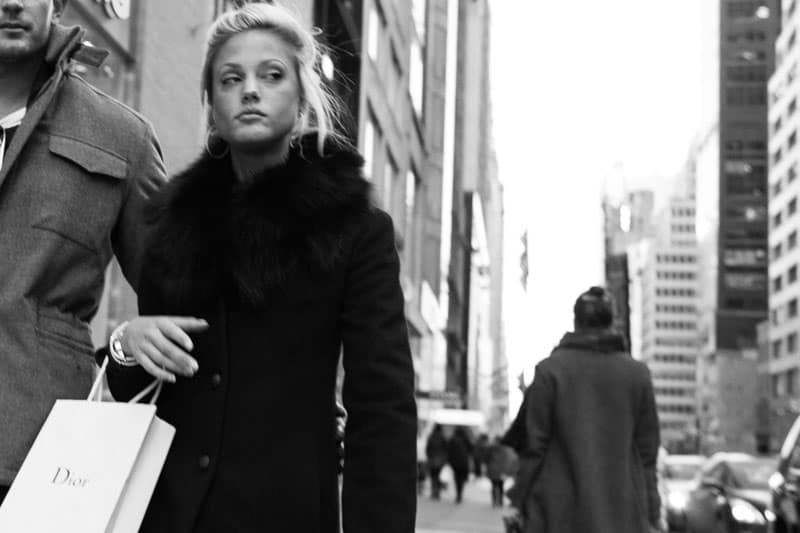
Does someone look happy, stressed, angry, jealous? Expressions and body gestures are the first thing I look for when I am out photographing people.
Favorite locations for Street Photography: 5th Avenue from 57th-42nd Street, 42nd Street, 34th Street, SoHo, East Village, Lower East Side, on the subway system, anywhere on Broadway, Chinatown, Coney Island, Bushwick, Williamsburg, and wandering aimlessly.
4. Put yourself in the middle of the commotion and wait for something to happen
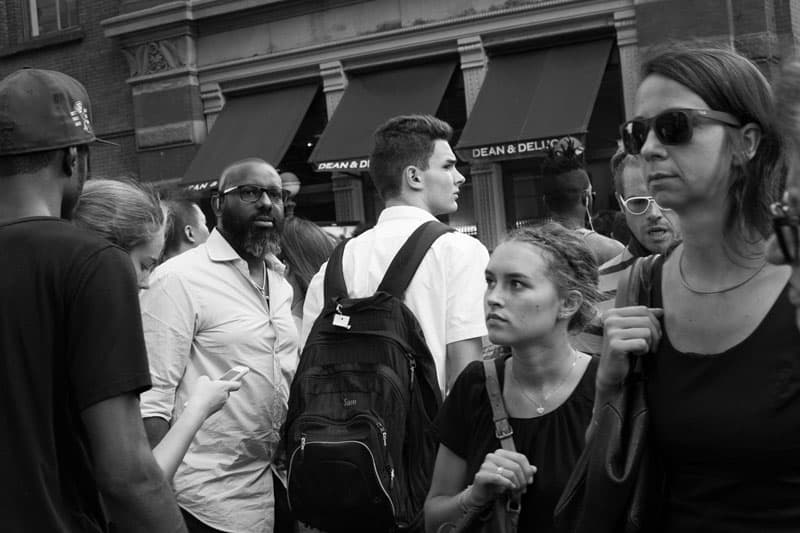
Pick a street corner to hang out on and watch the ‘ballet of the good city sidewalk’ go by you. The city moves so fast that it is easy to get caught up in that speed. Take a breath, slow down, and focus more of your energy on looking around and watching your surroundings. By choosing a spot to wait in, your hand-eye coordination will be much faster.
This will also help if you are nervous about street photography because people will be entering your personal space instead of you entering their space. You will be the one that belongs there.
- Planning on putting photography into your travels? See our Complete Photography Gear Guide
If you look at the work of famous city street photographers, many of them had favorite corners that they would go back to over and over again. Mine is the corner of Prince and Broadway in SoHo.
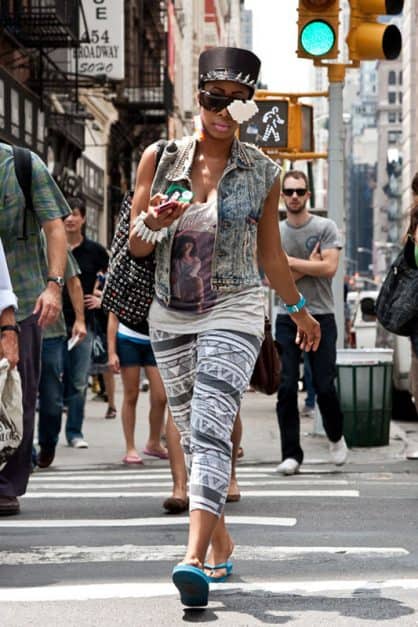
Mix this with a tip that I call the camera snap and you will be golden. Every single photographer has a tendency where they will slightly take the camera away from their eye when they take a shot.
This is the only way that subjects know you have taken a photograph of them besides hearing the shutter (which won’t happen on the noisy streets). If you keep the camera at your eye while you take the shot, your subjects will just think that they were getting in the way of you taking a shot of the background.
It’s sneaky for sure, but it’s an easy and very effective way to keep the shot candid and to keep everyone from asking if you took their photo.
5. Set up your camera to catch fast-moving scenes
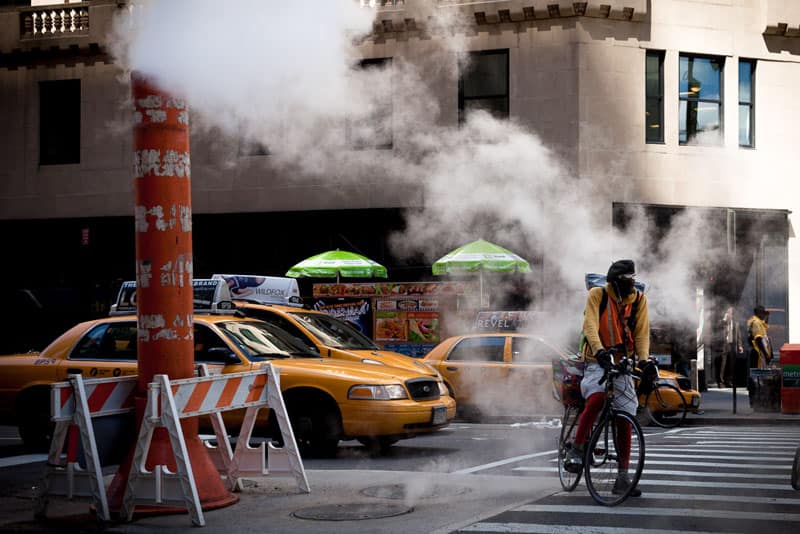
I am going to give a lightning-quick camera setting guide for how I prefer to shoot street photography.
I typically shoot in Shutter Priority on overcast days and Aperture Priority on sunny days. I like to keep my camera’s shutter speed at least at 1/250th of a second to freeze the motion in people. At night you can go a little slower, to 1/160th or 1/125th, and be okay.
I also like to keep as small an aperture as possible (as large a number) so there will be a lot of sharpness throughout the scene (a large depth of field).
Many people love the blurry bokeh look and so do I, but with fast-moving street photography where you never know what’s going to suddenly happen, I prefer to have a sharper scene should I screw up the focus a bit.
In addition, there will often be scenes where both a person and the background will be very interesting and I want them both sharp, or there will be scenes where there are multiple people or objects at different depths and I want them all to be relatively sharp.
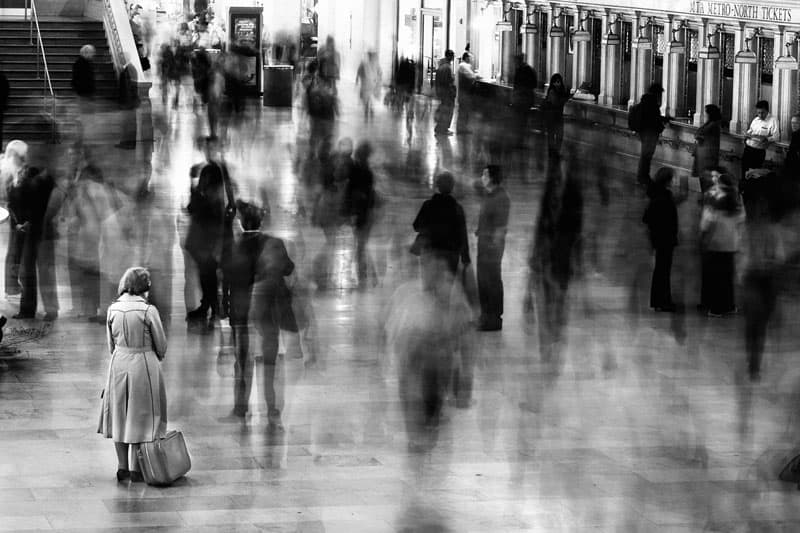
When you use a fast shutter speed and small aperture, not much light will be let into the camera, so unless you are shooting in bright sunlight, the key is that you will have to raise your ISO up.
Many people are afraid of raising their ISO because old digital cameras had horrible noise issues. This is no longer the case. Noise/grain in newer digital cameras can look very beautiful, so there is no need to be afraid of it anymore. I shoot at ISO 400 in sunlight, 800-1600 in shade, and 3200-6400 at night for street photography. With an entry-level camera, I would probably shoot one stop less, so ISO 200 in sunlight and so on.
6. Be more methodical about composing your cityscape and architecture photographs
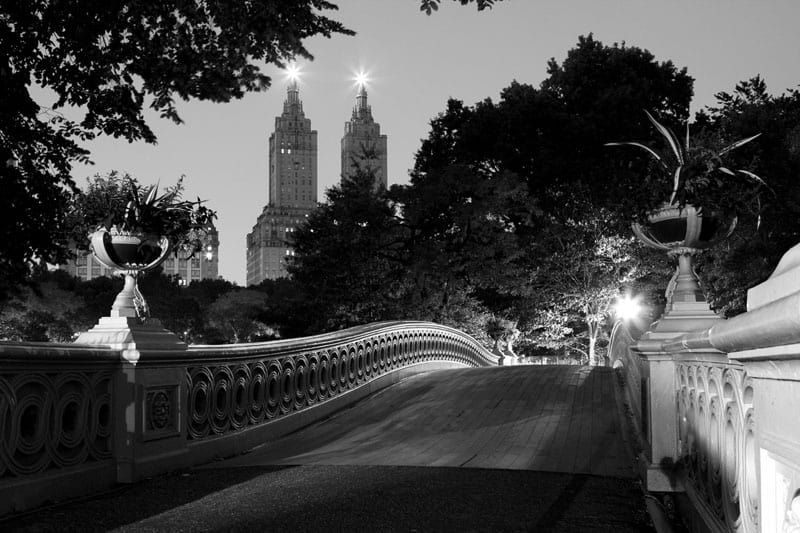
A common problem in cityscape photography is when people come upon an amazing structure, look up quickly, and photograph it before moving on. Maybe they moved a couple of steps or zoomed in a bit and that was it.
If you come across a beautiful building or moment, it’s important to stop yourself for a second and think about whether there is a better way to capture it.
Is it possible to include more elements in the image to turn it into a complex scene? Can you do more to the composition? Can you move your point of view to make everything fit together in a more cohesive way?
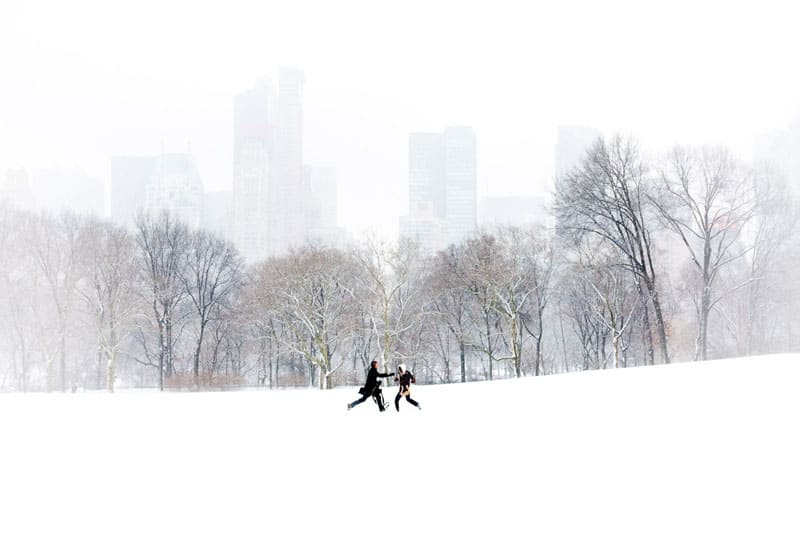
Think about your architecture photography and all your photography as if it were a painting. The rules of composition apply to photography in the same way that they do to traditional art.
The composition is basically just another way of explaining how a viewer’s eyes will move through your photograph.
Where will they start, which direction will they head, and where will they end? Good compositions will move the eyes through an image in a logical way, and great photographers have a way of placing different objects together in a way that leads the eyes. Want to improve your photography? Check out, The Best Landscape Tutorial Ever
The city is no different than a landscape photograph. Where you might place a tree here and a rock there in a landscape, you might place a lamppost or fire hydrant here and a person there. It’s the same principle.
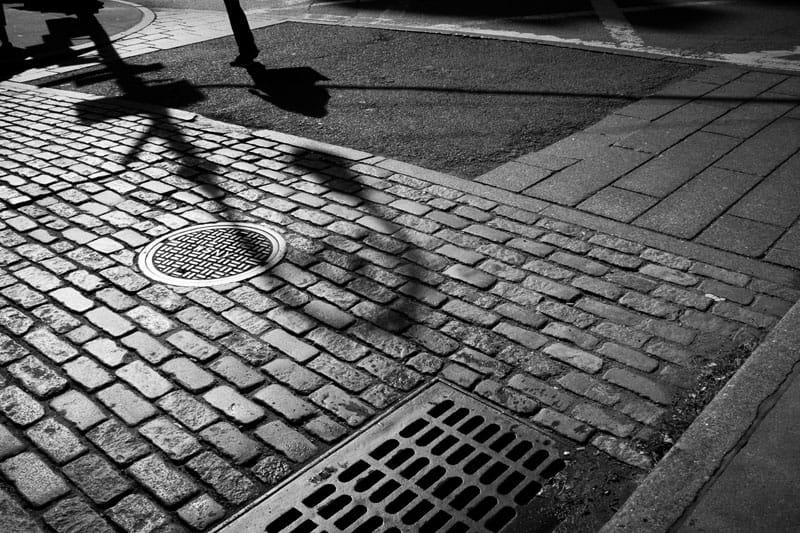
Finally, always think about the edges of your frame. A viewer’s eyes will naturally want to move off of the image. It’s why landscape painters will paint tree branches in the top corners or why cloudy skies typically look better than clear skies in photographs.
These objects stop the eyes and pull them back into the image, making the image feel more composed to the viewer.
Favorite locations for architecture/cityscape: Central Park, 42nd Street between Times Square and the Chrysler Building, SoHo and Greene Street (the best cast-iron architecture in the world), Manhattan Bridge (better views than the Brooklyn Bridge), Brooklyn Waterfront, City Hall District, Top of the Rock, and Rooftop bars such as Ink48 or Top of the Strand.
7. Learn about the history of the neighborhoods you shoot in
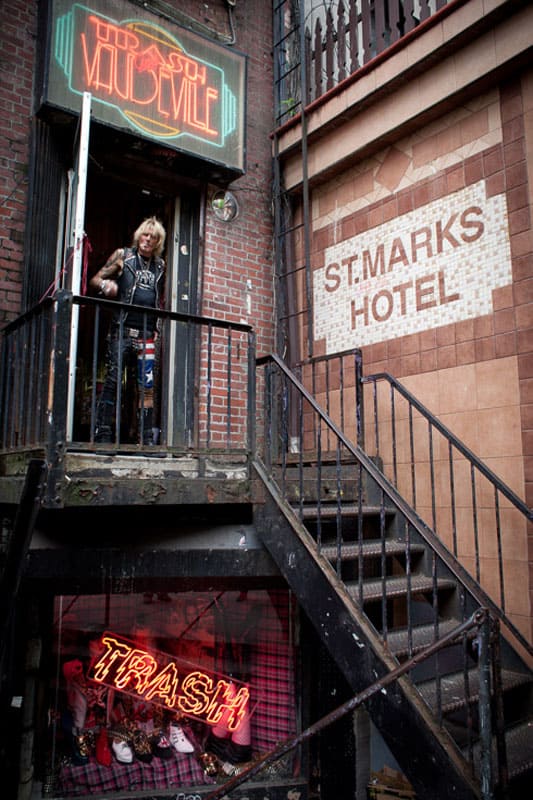
No matter where you travel in New York, there is most likely an incredible history to go with it. Learning this history before you explore a place can help you figure out how to get better photographs and will inspire you in general.
An example of this is in the East Village, now the trendiest neighborhood in Manhattan. The neighborhood was once filled with immigrants before becoming beaten down, burned out, and where everyone went to get drugs in the gritty ’70s and ’80s.
People moved out, apartments became dirt cheap, and this allowed young artists and creatives from around New York and the world to move there.
The East Village in the ‘70s and ‘80s fostered many artistic movements, the most notable of which is punk rock. These days, it is a gentrified neighborhood with some of the best bars, restaurants, shops, and nightlife in the city. Young kids and college students mix in with the old punk rockers, artists, creatives, and the junkies that have survived.
It is an incredible neighborhood to wander and photograph, and knowing this history can give you a much deeper understanding of what to photograph when you are there.
I hope these tips will help you the next time you explore and photograph New York and other cities around the world.
Plan more of your New York City travels:
- Things to Do: 33 Best Things to Do in NYC in 2020 for First-Timers
- Accommodation: Where to Stay in New York City – Top Places and Hotels For All Budgets
- Holidays in NYC: Christmas in New York 2020 – What to do in NYC for the Holidays
- Statue of Liberty: Tips for Visiting The Statue of Liberty and Ellis Island
- Vacation Rentals in NYC: The Best Vacation Rentals in New York
- Times Square: Three Perfect Hotels in times Square
- Lake Placid New York: Things to do in Lake Placid, New York


Great article, these are all really good tips. A few years ago I decided to try shooting New York City at night with analog film. It was really fun and pretty challenging to make I had enough lighting for each of my shots. Overall I think I got some pretty good photos.
Been to NYC three times and wish I had read your tips before now. Thank you for posting them. I am hoping to be there during Christmas this year and look forward to better pictures.
Didn’t shoot a wedding for a long time. Know my best
friend asked me. So I‘ll give it a try.
And Bam your Vid came out yesterday 😉 perfect for my X-T2 😉 Thank you.
Probably the best article I’ve read about NY Street P.
I’m printing it and taking it with me – will be visiting NY next month for the first time, and gonna try to follow your lead here.
Kudos! Thanks James!
Awesome photos and great tips!
Amazing tips particularly the one about getting in the middle of the commotion – there’s no better way to get some great candid photos!
Love your photos. Street photography has always been something that interest me. I think New York would be one of those places where you don’t have to feel as creepy taking pics of people just because it’s so busy and everyone is taking photos. There’s also just a lot going on. Actually, for some reason when I’m traveling I have more confidence to practice street photography. Something about a new location and just being a visitor gives you that extra, “Sorry, I’m just passing through and documenting my visit here. You just happened to be in my photo and it made it more awesome.” When you try the same thing back in your hometown in a much smaller setting it just feels weird and it’s a hard feeling to wrestle with. Having like a business card or something can help a little. It gives you something to feel like you have to offer them in exchange.
I love experimenting in large urban centers and a good part of it is just being in a cool place and waiting for the right opportunities and keeping an eye to interesting things that maybe happening. I love doing street photography and would love to visit NYC again.
Amazing clicks! Capturing New York is not as easy as it seems. Thanks for your tips.Gonna apply them for sure on my next visit to NY.
Your photos are fantastic and really capture the vibrancy and diversity of New York. NY really is a photographers dream, there is always something to photograph.
Your tips and the captures are so so so amazing. I am really stunned by it. Thanks a ton for sharing. Simply loved it!