Living your passion for travel is one thing, but filming yourself doing it daily to weekly for binge watching audiences on YouTube is another! Yet, the list of travel vloggers on YouTube grows as storytelling techniques of its creators evolve to keep you tuned in.
From storytelling editing, daily vlogging, cinematic flair, sexy drone shots, and 360 viewing, these travel YouTubers are committed to pumping out travel inspiration on a regularly programmed basis.
Enjoy this list of inspiring Youtube channels to find great travel content and travel experiences.
Table of Contents
Best Travel Vloggers
Christine chose some great travel vlogs and we don’t want to mess with her, list, but when you are done here, check out some other amazing travel YouTubers! These travel personalities are not only travel hosts, they are their own travel show! We made our own list of best travel vloggers too!
1. Fun for Louis
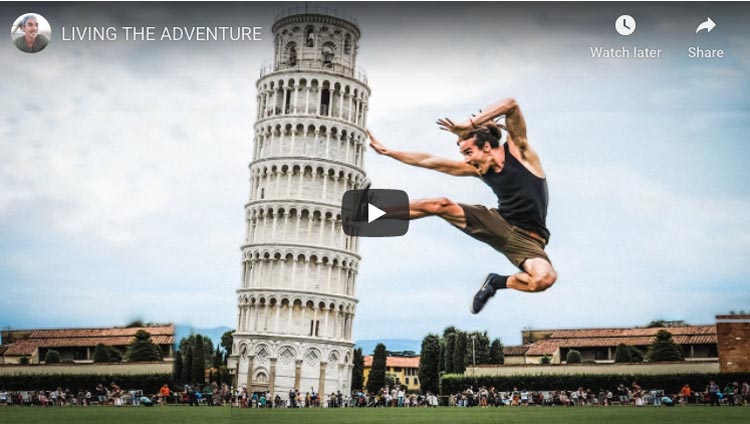
Louis Cole initially started out enthralling (and grossing out) viewers with his adventurous ability to eat every odd delicacy that was dead or alive.
Today, this U.K. travel vlogger has taken to daily vlogs of his life, inspiring viewers to live the adventure while travelling the world.
A well-loved travel vlog hero of YouTube, not only does he make binge-watching addictive, but he incorporates 360-degree video and has his fans introduce his videos.
Schedule: Daily
2. Mr Ben Brown
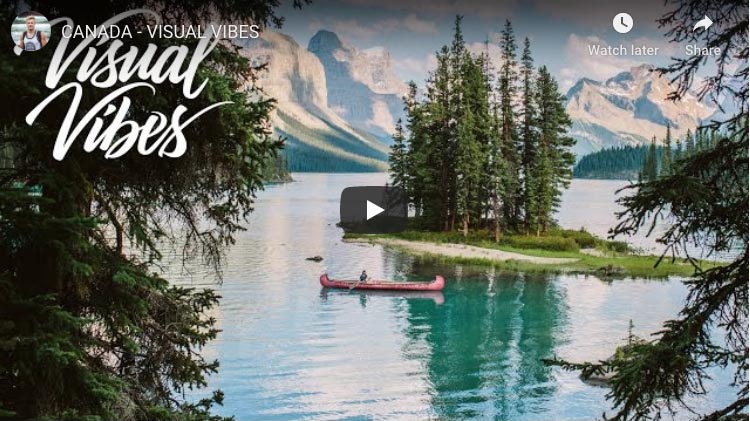
Mr. Ben Brown is mostly known as a YouTube vlogger. But he travels a bit and his Visual Vibes series showcases some seriously stunning travel cinematography, which will leave you breathless.
An expert storyteller, his vlogs are partly filmed from his perspective, as if you’re inside his head.
Whether skiing, motorbiking or hiking, you’ll feel like you’re moving vicariously with him, as he traipses around the world to meet up with his posse of YouTuber friends.
Ben joined YouTube in 2006 definitely making him one of the older travel vloggers (at least by channel age) out there.
- Devon Supertamp is very similar and we have him listed on our choices for best travel channels.
Schedule: Daily.
3. Vagabrothers
The Vagabrothers are the wacky boys of the travel vlogging world.
As charismatic travel hosts revving you for the flight, they offer a cultural soft side into the joys of travelling.
Their travel videos incorporate fun shooting styles, collaborations with other YouTubers, destination guides focused on culture, and lethal drone shots.
Schedule: Tuesdays
4. Hey Nadine
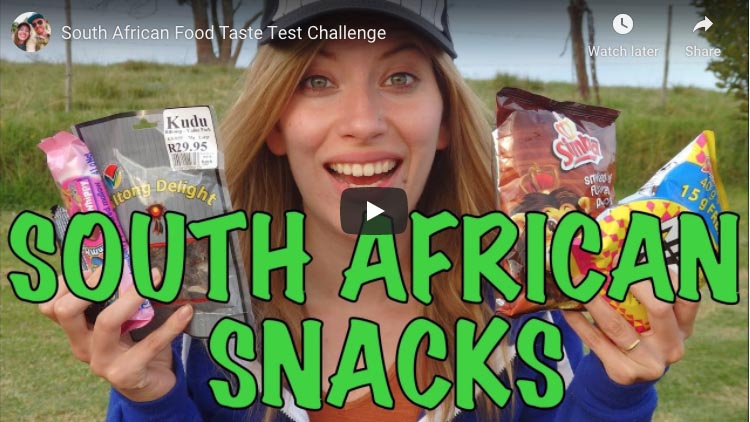
As the reigning top female travel vlogs on YouTube, Nadine Sykora knows what YouTube audiences want.
As Hey Nadine, she infuses her travel lifestyle channel with a creative flair of fashion, fun, food and entertainment.
From travel tips, to “What I Eat in a Day in...” ,… to playful collaborations with other travel YouTubers, Nadine’s channel drums up an addiction to seeing just what new video she puts out next.
Schedule: Twice a week
5. Migrationology
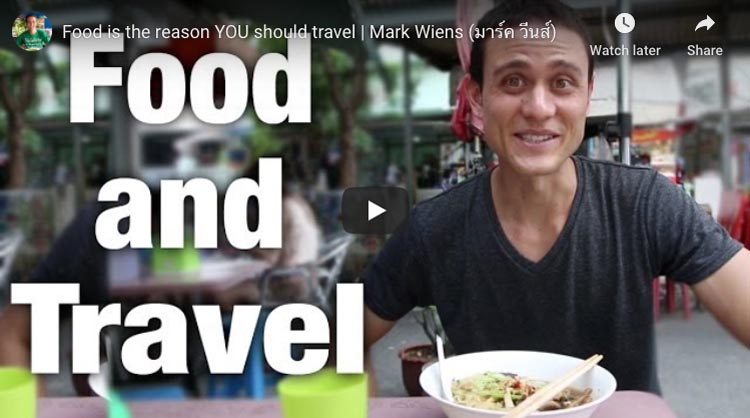
Would you travel for food? Favorite food vlogger and travel YouTuber Mark Weins does, and boy does he!
A travel and food blog, Migrationology has hit gastronomical stardom on YouTube, making Mark the number one ‘foodie guy’ to both, watch and read.
Mark is the ultimate digital nomad!
He shares his passion for travel by delivering each country through mouth-watering morsels.
You’ll find DIY city guides and of course, lots and lots of food videos!
Schedule: Sundays and Wednesdays.
6. Wolters World

Mark of Woltersworld is my favorite ‘Loves & Hates Travel Guy’, sharing his unchained opinion on what travelers will love, hate and be shocked with about each city.
He tells it like it is and his honesty won’t take away your excitement in experiencing the place for yourself.
His videos are highly informative insights, which crack the travel code of each country.
Schedule: Wednesdays and Saturdays
7. Hopscotch the Globe
Kristin Sarah merges her acting chops with her love for travel in Hopscotch the Globe.
She’s like that fun travel bestie who’s not afraid to be a little silly. Her channel incorporates vlogging with cultural parodies and travel inspired DIY recipes.
Today, she shares her channel spotlight with her husband Siya; together, these travel partners in crime hop around the globe, creating weekly entertainment.
They’ve also recently added a baby drone into their picture!
Schedule: Weekly
8. Psychotraveller

If twenty-something backpacking is your thing, check out Psychotraveller.
Ally dishes backpacking travel tips, vlogs and travel budget information, all with a dose of humor.
Best of all, her favorite filming studio is often a hostel room!
Schedule: Weekly.
9. GRRRL TRAVELER
Does traveling alone freak you out? Christine Kaaloa of GRRRL TRAVELER takes you inside the adventurous world of solo travel and shows you how she survives it.
Experiencing culture shock and filming it, isn’t easy, but Christine finds ways to turn her encounters of taxi scams, Asian squat toilets, airport layovers and getting sick abroad, into travel survival tips to walk away with !
A solo travel blogger, she films and blogs travel tips and city and food travel guides, while playing with video storytelling styles.
Schedule: Fridays or Saturdays.
10. Sonia’s Travels
Sonia is your female travel MacGyver. From how to pack your makeup to product reviews and how to score a deal on a hotel, she’s got slick tips to make you a savvy traveler.
Her tips are usually around 2-3 minutes, which make her videos perfect to watch with your morning coffee.
Until then, she has hundreds of travel tip videos to keep your travels well-groomed.
Schedule: On hiatus. Let’s hope she comes back.
11. The Planet D
Dave and Deb of The Planet D, not only live the dream of travel, but they also visit some of the most exotic places that most of us can only dream about!
This zany travel-adventure couple have blogged about adventure travel for the past 10 years, and now they’re on YouTube too, inspiring each other (and others) to take a passion for adventure to the next level. Making the list as one of the couple travel vloggers to watch.
From polar ice plunges in Antarctica to riding the fastest zipline or ballooning over the Masai Mara, their channel covers a bucket list of activities to try when you’re looking to leave your comfort zone.
Schedule: Saturdays.
Expats & Nomads: Travel Youtubers Hitting the Road
12. Gone with the Wynns
Ever think of packing up your family life and hitting the road in an RV?
Nikki and Jason of Gone with the Wynns sold it all and packed it up to hit the highway.
From composting toilets to solar powering an RV (okay, not your everyday travel story), they’ve transformed the concept of an RV travel lifestyle for YouTube.
Their videos are well-shot and occasionally, filmed like a sexy commercial (okay, not your every day RV travel video).
Recently, they’ve made a rather new change in their lives, by trading in their RV for a sailboat!
Schedule: Weekly.
13. Samuel & Audrey
You may know Samuel and Audrey as their travel blogging aliases, Nomadic Samuel and That Backpacker.
As former ex-Korea expats, this adorable travel geek couple are on an indefinite road between expat life and nomadism.
Their channel is prolific with destination guides and food taste tests.
For audiences, who want to get their binge watching on without taking a break, they are also known to occasionally have long format videos.
Schedule: 1-2 times a week.
14. 8 Miles from Home
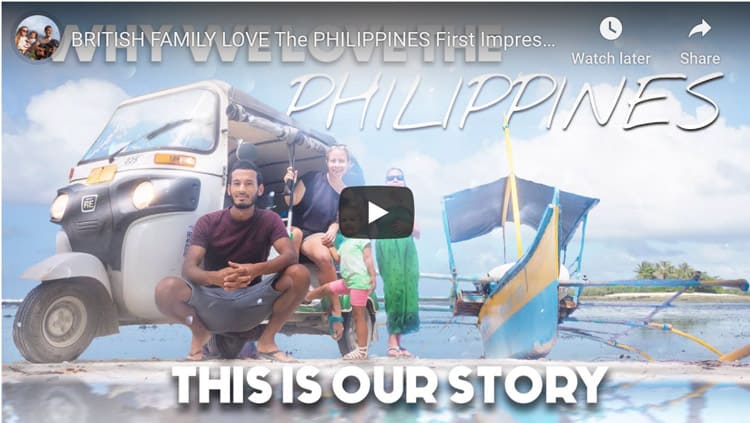
Inspiring us to take our dream lifestyle (and dog) abroad is 8 Miles from Home.
Sacha and Jymael are British photographers turn expat vloggers, documenting their life in Thailand.
Their vlogs are cinematic video diaries, occasionally incorporate dazzling special FX.
Recently they announced their new adventure~ a move to Portugal and a baby!
Schedule: Daily
15.The Food Ranger
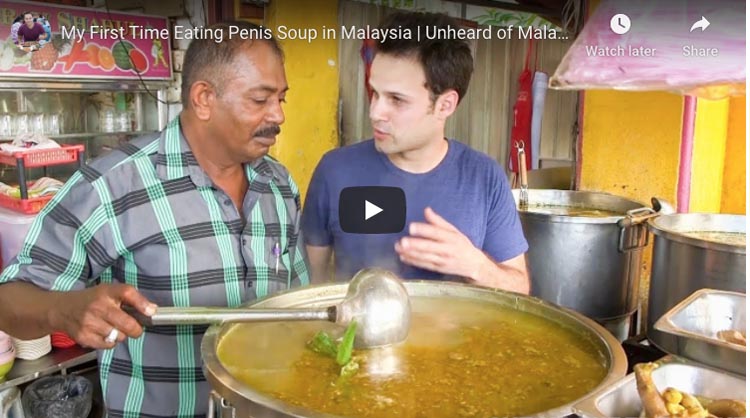
If you love Asian food, Trevor is The Food Ranger of Asia. An expat in Sichuan, China, he chomps and slurps some of the best Chinese cuisine (and uh, some pretty obscure foods too).
Commendable is his ability to upload regular videos while staying under China’s banned radar (YouTube and Google are banned in China).
He’s quickly growing a following as a new foodie channel to watch.
Schedule: Saturdays
How the best travel vloggers were chosen:
Like all lists, people will wonder why they’re not on it. I’m positive I missed some good ones, but this is very loose criteria I’d be using if I were hired to cast, produce or pitch a TV show. Creators did not need to meet all criteria, but most.
– Programming: Weekly dedication, quality, storytelling & individual style execution
– Audience: Niche, loyalty, & YouTube friendly
– Blog worthy and/or binge worthy
– Does it bring a new spin to the term “travel video” or “travel show”
– Channel Personality/Talent: brand recognition, hosting & entertainment value

Do you have favourite travel vlogger you love on YouTube? Introduce us to them in the comments below!
Read More:
- 16 Amazing Women Instagrammers to Follow
- 11 Inspiring YouTube Travel Channels to Follow
- Best Travel Blogs by Category
- 101 Best Travel Quotes in the World with Pictures
That’s a subjective question. If you go by subscribers it is Devon Supertramp or Fun for Louis on this list. Drew Binskey is definitely the most successful travel vlogger out there right now.
Mark Weins tops the list as the best food travel vlogger. He takes you on a culinary journey around the world.