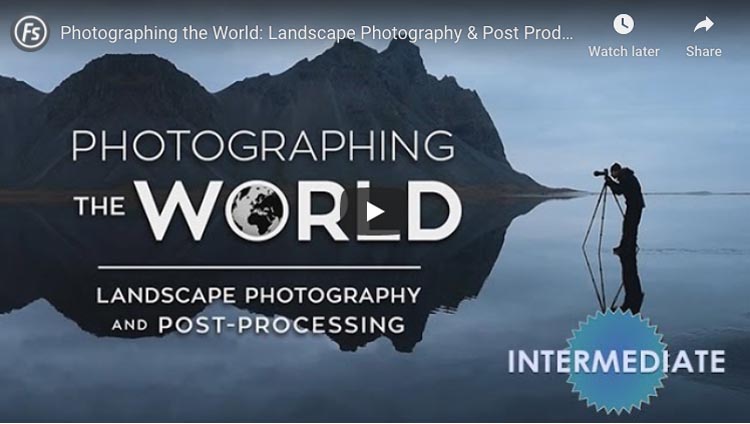
I know it is a bold statement but Photographing the World by Elia Locardi is hands down the most in-depth, well produced and educational landscape photography tutorial I have ever experienced.
I love reading reviews when I am going to purchase a product but it has become increasingly difficult to come across ones that actually give an honest opinion.
Most are written by the people who produced it or are selling it or by people who are paid to write it or are really vague.
This is not one of those reviews.
In the oversaturated world of travel photography it can be hard to get a leg up or find educational materials that just simply repeat what you have seen before or can come across with a little digging on the internet.
So you can imagine my delight when I started to dig into the Photographing the World course by Elia Locardi and found that it is full of fresh ideas and great tips on improving your photography as a whole.
From on-location to post-processing it really actually gives you the tools to become a better photographer.
Table of Contents
Photographing the World – Landscape Photography Tutorial
Who is Elia?
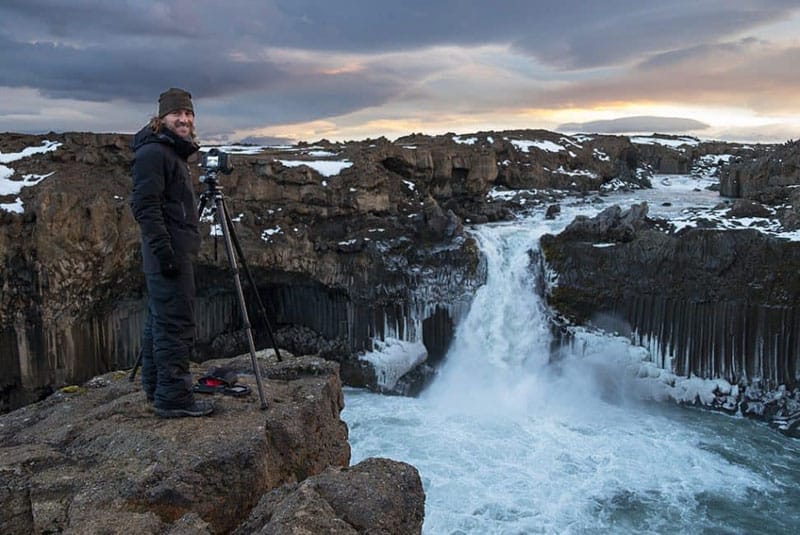
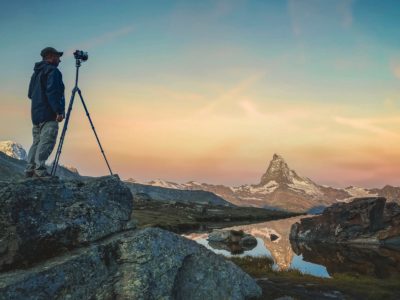
Elia Locardi is an acclaimed travel photographer and Fujifilm Global Ambassador who spends his life shooting some of the most beautiful locations in the world.
Looking for more travel photography help? Read How to Improve your Photography with Filters
I have not met Elia in person yet but have chatted with him online and let me tell you he knows what he is talking about.
I have respected his work for a while now and really enjoyed how his processing has evolved so I was excited to dig into this landscape photography tutorial and learn from the master.
What you get:
Here is what the photography course includes:
- 12+ Hours of Video Content (1080p, 23.9fps, H.264 mpg4, over 25GB of material)
- 15 On Location and Studio Post-processing Lessons
- Intro to the Basics of Photography
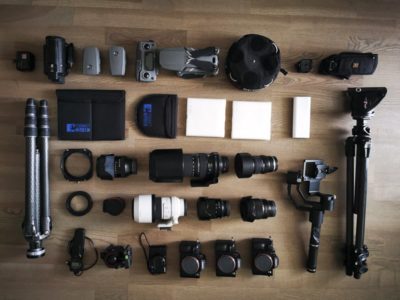
- Overview of every piece of photography gear Elia uses and why
- Full RAW files and companion software catalogues so you can follow along (Lightroom, PSD, and CaptureONE)
- 8 Behind the Scenes episodes of our experiences traveling and filming this incredible project
- Private Elia Facebook Group access for extended education and photo sharing
I am a self-taught photographer and have avoided most online courses for the simple fact that I have found that they have often offered nothing more than some conventional tips with no real substance when it comes to taking photography to the next level.
I was looking for something that taught me new techniques and broke some of those conventional rules. I have found that in this course.
Who is it for?
You may be thinking that you must have years of experience in order to take advantage of this course but you would be wrong.
One of the things that I loved about it is that you can learn something no matter what level you are at.
Elia takes the time to explain in detail the processes, settings and gear he is using so that you never feel left behind. So whether you are a beginner photographer or someone who has been shooting for years you definitely create more beautiful images with this course.
Read: Photography Tips from the Best Travel Photographers in the World
I do have to note that you should have some knowledge of Lightroom and Photoshop before you start the tutorial.
This will make the learning process easier as he does not cover the basics of these programs.
So let’s get into it.
Production Value
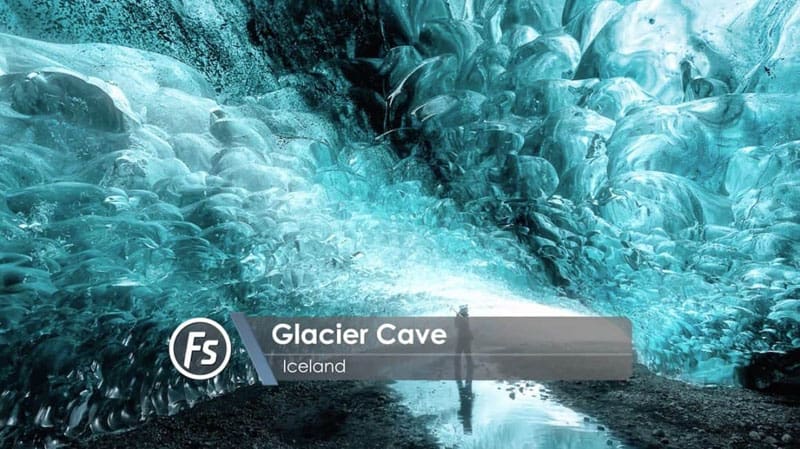
The first thing you will notice is the incredible production value. Elia and the guys at F-Stoppers have gone to great lengths to make this tutorial visually appealing and they have succeeded.
It travels from Iceland to New Zealand and showcases some of the best landscapes out there.
Kudos guys. This is some serious eye candy!
Also, check out the “Behind the Scenes” episodes for some hilarity and an idea of what went into producing this tutorial.
First Lessons
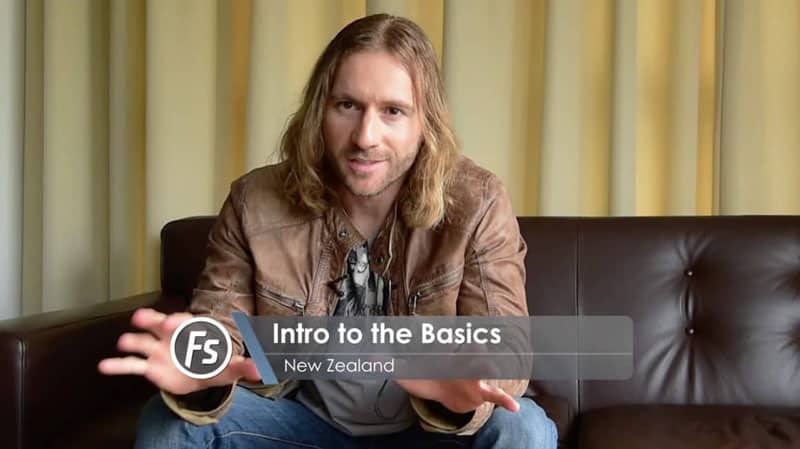
The course itself starts out with an extensive and in-depth look at what gear you need to capture great images.
What works so well in this part of the course is that Elia doesn’t just focus on high-end lenses and bodies but offers alternatives for people on a budget.
Gear doesn’t make a photographer as we all know.
He also goes on to explain what I would call the basics of photography that talks about f-stop, shutter speed, depth of field etc. so that if you are just starting out or need a refresher you walk into this course armed with the necessary base knowledge to take advantage of all the information included.
Traveling soon? See my Photography Guide to Santorini
One of the huge advantages of taking the landscape tutorial is that it is progressive.
So the lessons you learn in the first tutorial are applied again and again so that they become second nature.
I loved this approach because it allowed me to improve my Photoshop skills without having to constantly go back to previous lessons to see how it was done.
My recommendation would be to make sure you watch each lesson in order as they build upon each other.
Course Structure
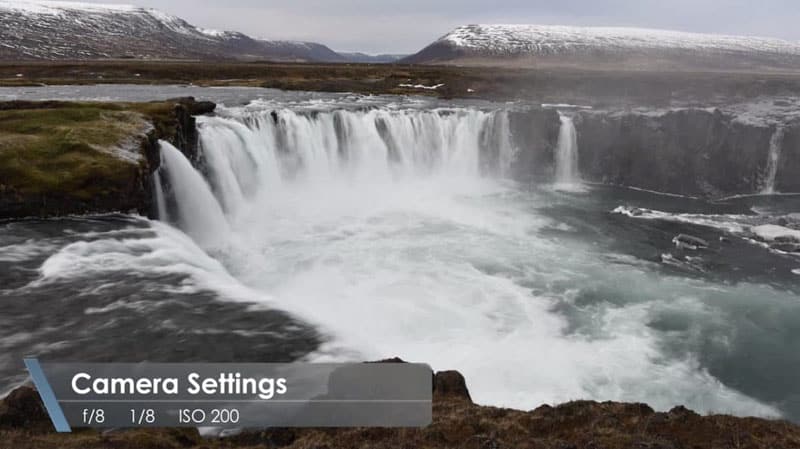
The structure of each of the videos is the same.
We start out in the location where Elia takes us through his process of finding an interesting composition.
He shares what he looks for, his camera settings and his general approach to how he deconstructs a scene and how to capture the necessary elements that he will use in post-processing to achieve the look he is aiming for.
It is so important to have a vision when you are creating stunning images.
Elia’s teaching style is easy to follow.
He takes the time to explain each step and more importantly why he is doing what he is doing so that you can apply it when you are on location.
Truthfully I would have liked a little more in this section.
Though Elia explains himself well I think it would have been better if he went into more detail and compared different angles so that he could let us know why he chose that particular composition.
What I also liked it that the shooting situations are real. By that I mean not in perfect conditions.
As we all know we are almost never presented with that ideal shooting situation so to see how he adapts and processes these images applies to real life situations and not ones that they went back to again and again to get that perfect shot.
Post Processing
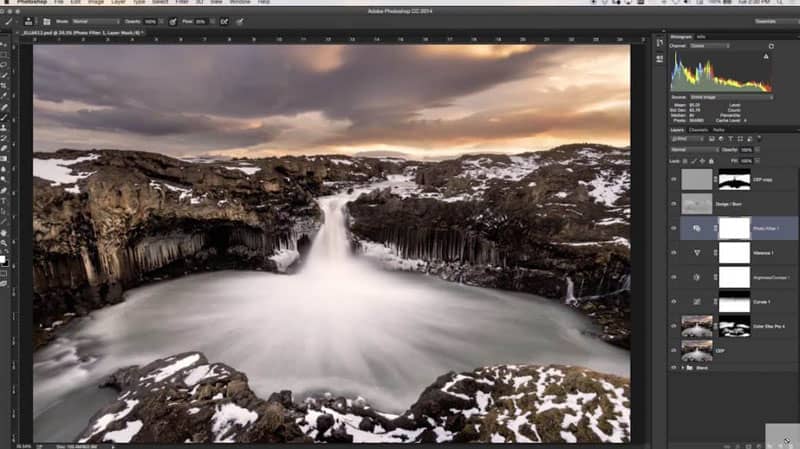
From there we move into the post-processing phase (which is the bulk of the tutorial) and the one that I was most interested in.
I learned a lot from this part of the course.
Not only does Elia cover things like Luminosity masking, colour enhancement and sharpening but he also delves deep into exposure blending and the techniques that he uses in his photos.
If these terms seem overwhelming or foreign to you don’t panic.
He explains each one in depth and describes how to use them and what they do so that ANYONE can master these techniques.
He also goes in depth into RAW processing and the benefits of both Capture One and Lightroom as a RAW processor.
As we move further into the course we are taught more advanced techniques that cover different colour, saturation and contrast adjustments as well as how to use masks to control where the effect takes place in the image.
I found that this gave me so much more control over how my images look and how I can selectively apply any adjustment that I want in any area of the image that I want.
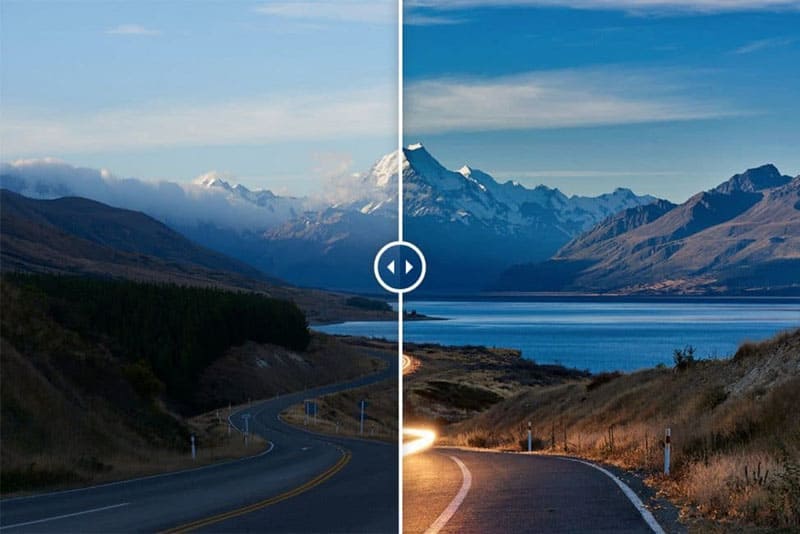
When you purchase the course he provides you with all of the RAW files so you can follow along step by step.
A great idea as I find it easier to learn if you are working on the same image.
I was definitely a rookie when it came to Photoshop before I started this tutorial but I have found that the lessons that I learned throughout this course have now found a place in my everyday image workflow.
Other things covered in the tutorial include:
- Photography Basics (ISO, Shutter Speed, Aperture, White Balance, etc)
- Overview of best lenses and gear for Landscape photography
- Tips for better composition
- Focus Stacking and maximizing depth of field
- Bracketing and multi-exposure blending
- Graduated Neutral Density Filters
- Solid Neutral Density Filters
- Blurring water and skies with long exposures
- Building Panoramic images
- Dealing with Sun Flare
- Understanding Light (Golden Hour, Blue Hour, Sunrise and Sunset)
- Using lens compression to your advantage
- Removing and adding the human element into your images
- Polarizers?
- Bracketing and multiple exposure blending
- RAW Processing and Editing Workflow
- Colour correction and image adjustment
- Basic object removal, painting, and cloning
- Masking and Layering Techniques
- Introduction to Luminosity Masking
- Time Blending (combining exposures shot at different times)
So as you can see it is a very extensive course packed full of information and education you can buy it right now here.
Summary
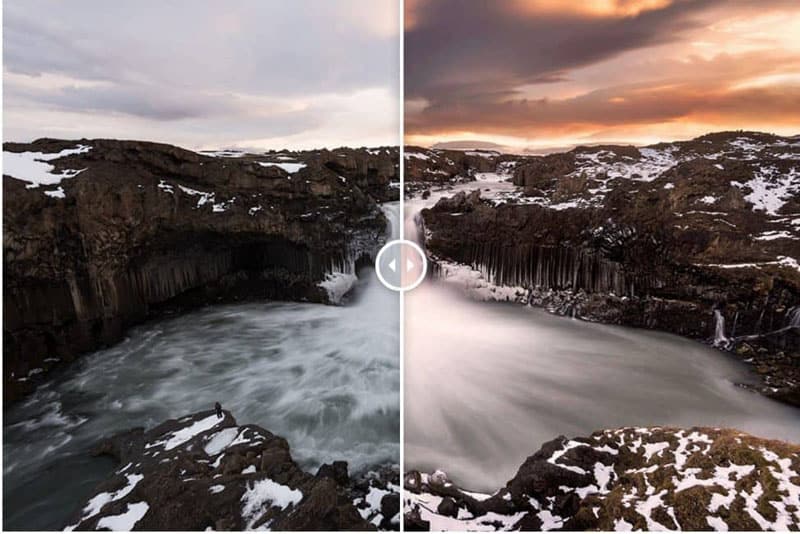
The Photographing the World Course is perfect for the photographer or blogger who finds themselves at a standstill technically and creatively.
If you want to improve your skill set and learn new techniques then this tutorial is for you.
I know that when you compare the price of this course ($299) to other online courses it seems quite expensive. But, as I stated above, it is worth every penny.
Most photographers spend their money solely on gear and cheap out when it comes to education. What good is gear and software if you don’t know how to maximize it?
If you love photography and want to take it to the next level then you should definitely invest in this course.
Read More:
The Complete Travel Photography Gear Guide
Antelope Canyon Photo Tours – How to Make the most of it
6 Tips to Make the Most of your New York City Photography
Antarctica Photography – 8 Easy Tips and Tricks
5 Techniques for the Travel Photographer



Thank you for the post. It saves my days!
I have found your post at the very right time when I am looking for some effective and useful tutorials. I hope by following this tutorial I could learn new techniques and ideas about landscape photography. This tutorial has included more interesting topics that I really wanted. Thanks so much.
It was helpful article specially in managing the flash of the photo shoots. Thank you for sharing!
Little bit more than what I wanted to pay. Just spent up on my new camera! Maybe further down the road
Thanks for the awesome review! Dave, I owe you a beer the next time I see you. 🙂
Elia ,finally i got it, why you are the best photographer.The pics are really awesome .Its incredible wow..now I am a big fan of you and your blog.The words of your blogs are really fantastic. The way you represent your experience here its nice.I am also a traveler, its a pleasure to read your blogs.
For the amount of work these guys put in, $300 is worth it. But being an aspiring photographer, the funds are not readily available. Bookmarked for now, maybe sometime in the future I will purchase this.
Thanks for sharing.
This definitely looks like a very thorough tutorial! Thanks for sharing!
Hi guys thanks for the review! Just starting off with photography really and like youb, im going down the self taught road. Would love to learn more about the post processing etc, but just wandering, at the moment were backpacking without a laptop until around June, we have just got our tablets and our phones (dont get me started on how infuriating it is to manage a blog some days on just these alone). Do you think were best waiting until we have the laptop again before we do the course, so we can utilise it fully, I.e. have full versions of photoshop etc.
Thanks
sally 🙂
Downloading now and trying it out this weekend! Seems incredible, can’t wait to spend all Sunday diving into this. I’ve seen Elia’s work before and absolutely adore it!
Thanks for bringing this tutorial to your readers’ attention 🙂