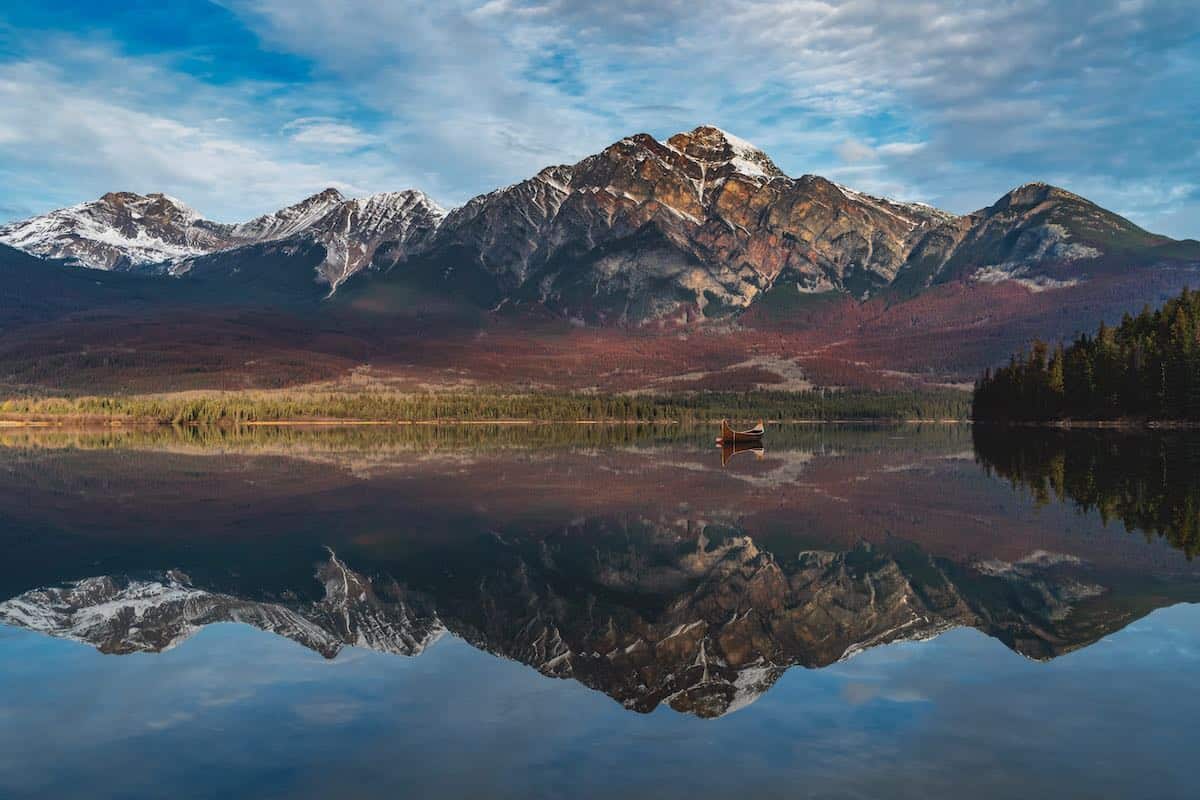
Landscape Photography has always been the cornerstone of great travel photos. There is a lot more to it than just pointing your camera at a scene and pressing the shutter button. When you look at the most beautiful landscape photographs they all have a few things in common.
If you follow these 10 landscape photography tips you will be able to create some really stunning images.
Table of Contents
10 Top Tips for Improving Your Landscape Photography
1. Scout your location.
The first rule in producing stunning landscape photos is to scout your location. Most of the great shots that you see didn’t happen by accident.
More often than not, they are a result of careful planning and being in the right place at the right time. You can start planning even before you travel.
Using Google maps and Google Earth, you can zoom in to the destination and get a feel for a location.
When you arrive at your destination, you already know how to get there, what time the best light will arrive and, where you have to be to capture it.
Pro Tip: Always get there a little early so you can look around and decide on the best composition.
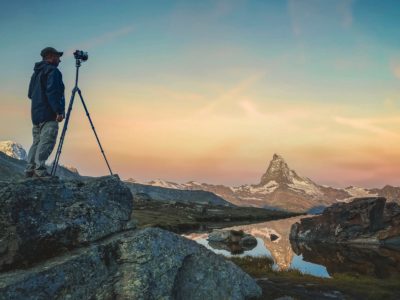
2. Use a tripod.
To be honest, if you want to produce the highest-quality photos you can, a tripod is an essential piece of gear. Most landscape photography takes place when the light is low (at sunrise or sunset), your apertures are small and shutter speeds are slow.
A sturdy foundation will guarantee that your image will be sharp and noise-free.
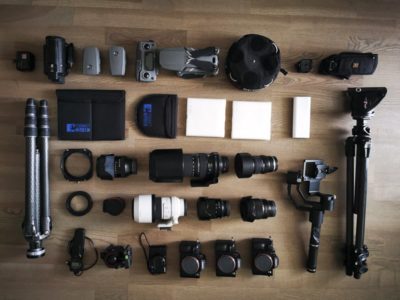
Wondering what camera gear I use? Visit “Travel Photography Gear: What’s in My Bag?” to find out.
In addition, if you want to capture any long exposure photos that emphasize movement (like clouds or water), you are going to need a tripod because you will never be able to hold the camera steady enough to get the shot.
3. Maximize your Depth of Field (DOF)
In most situations, you want to make sure that you are shooting with a small aperture in order to ensure that the whole scene is in focus from front to back.
In order to achieve this, start with your camera in AV (Aperture Priority) mode, which allows you to control the aperture as a priority.
Begin with an f/stop of f/8 and increase it up to f/11 or higher until you see the whole image is in focus.
Pro Tip: Experiment with your Depth of Field (DOF) preview button and see what works for the scene.
There may be times that you may want to achieve a certain effect with a shallow DOF, for example, if you want to isolate a subject in the foreground.
So, like in every aspect of photography, remember that rules are meant to be broken.
4. Wait for the light
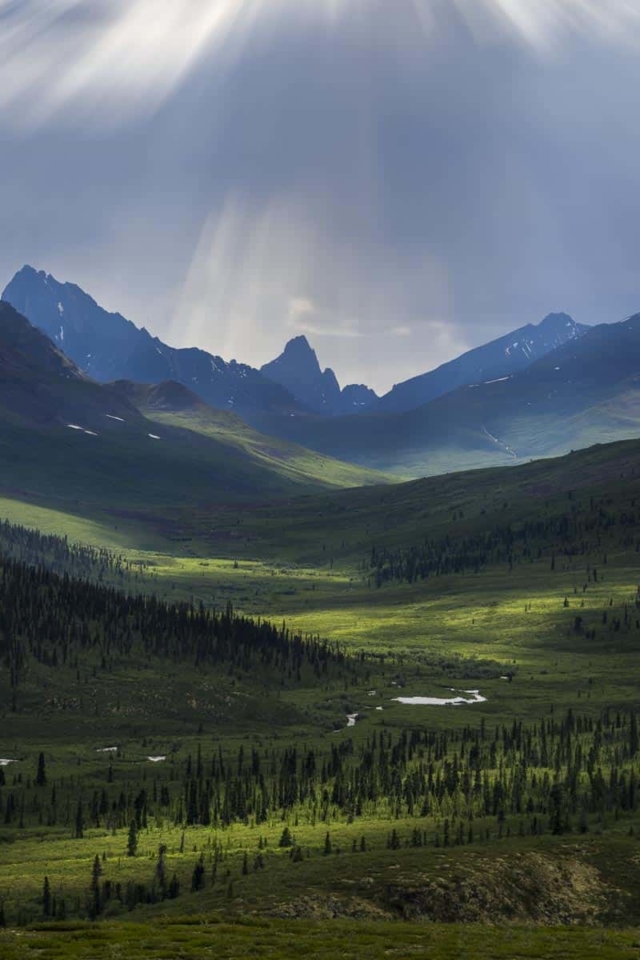
Great light can make or break any photo, but it is especially important in landscape photography.
The best light usually happens at sunrise, sunset, and golden hour (the time before or after the sun is below the horizon).
You can have the best techniques, the best framing and everything else can align but if the lighting conditions are not right you could end up with a sub-par photo.
This is why you have to understand the different types of light and how they affect your scene.
Do the long shadows of sidelight add texture to your shot?
Does that front light bring out the clouds more or does backlight make the scene more dynamic?
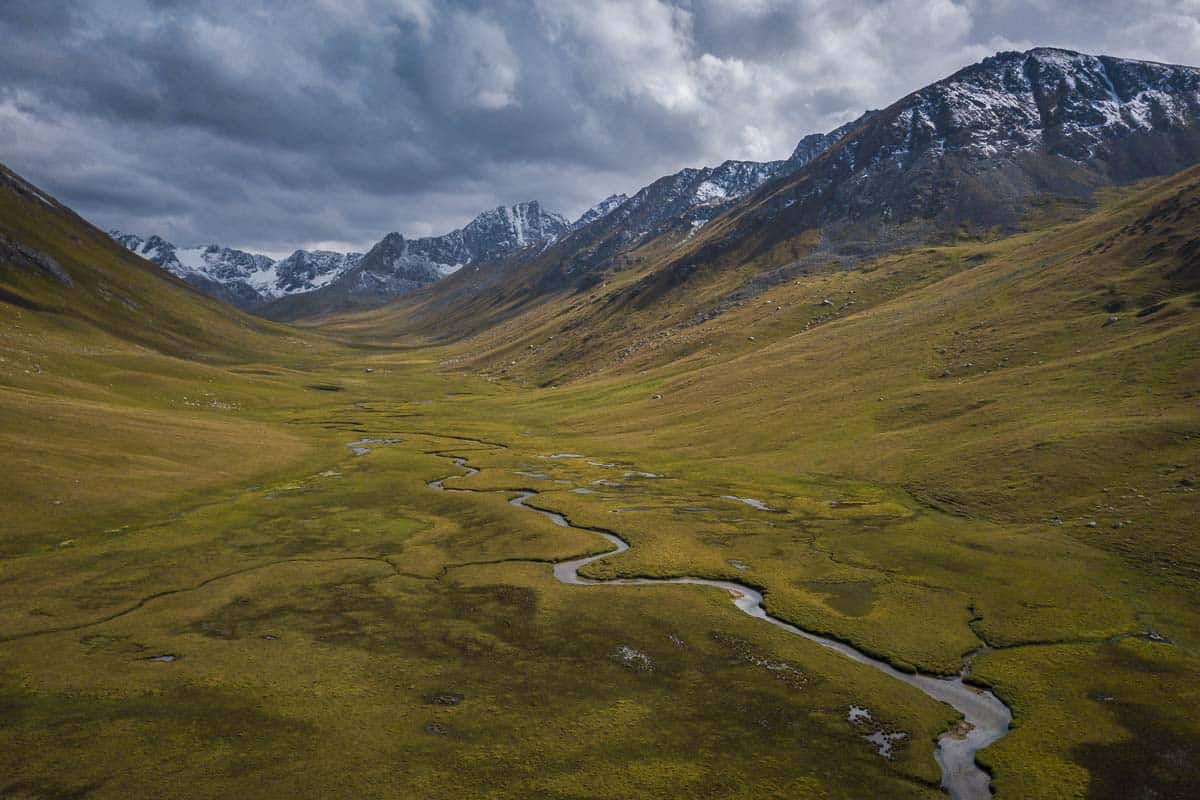
5. Use a Wide Angle Lens
Wide-angle lenses are a landscape photographer’s best friend.
When you want to capture those wide-open spaces, huge canyons, and big skies, you will be happy that you have one in your bag.
Wide-angle lenses also give you a wider depth of field and usually allow you to use fast shutter speeds.
I recommend something like a 16-35mm zoom lens.
This will allow you to get wide enough without any image distortion and still provide a range that is useful for other photography applications.
For a travel photographer, this lens is a must.
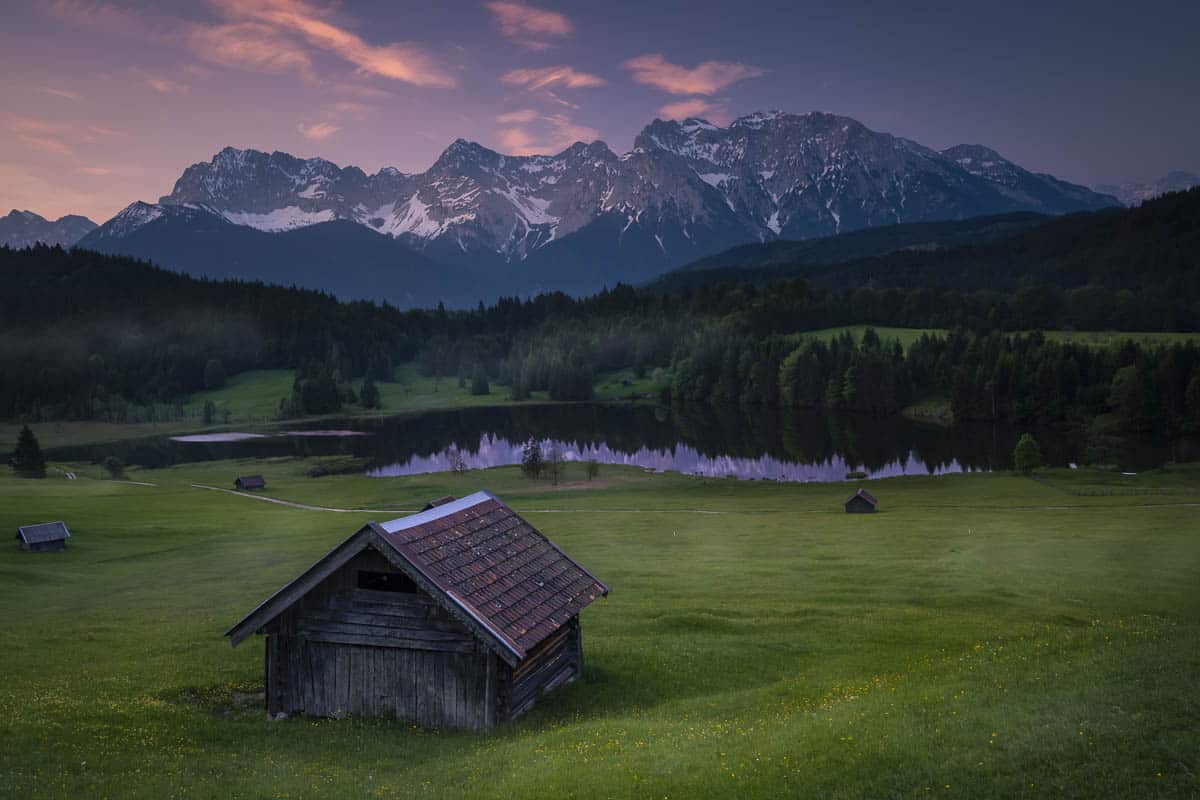
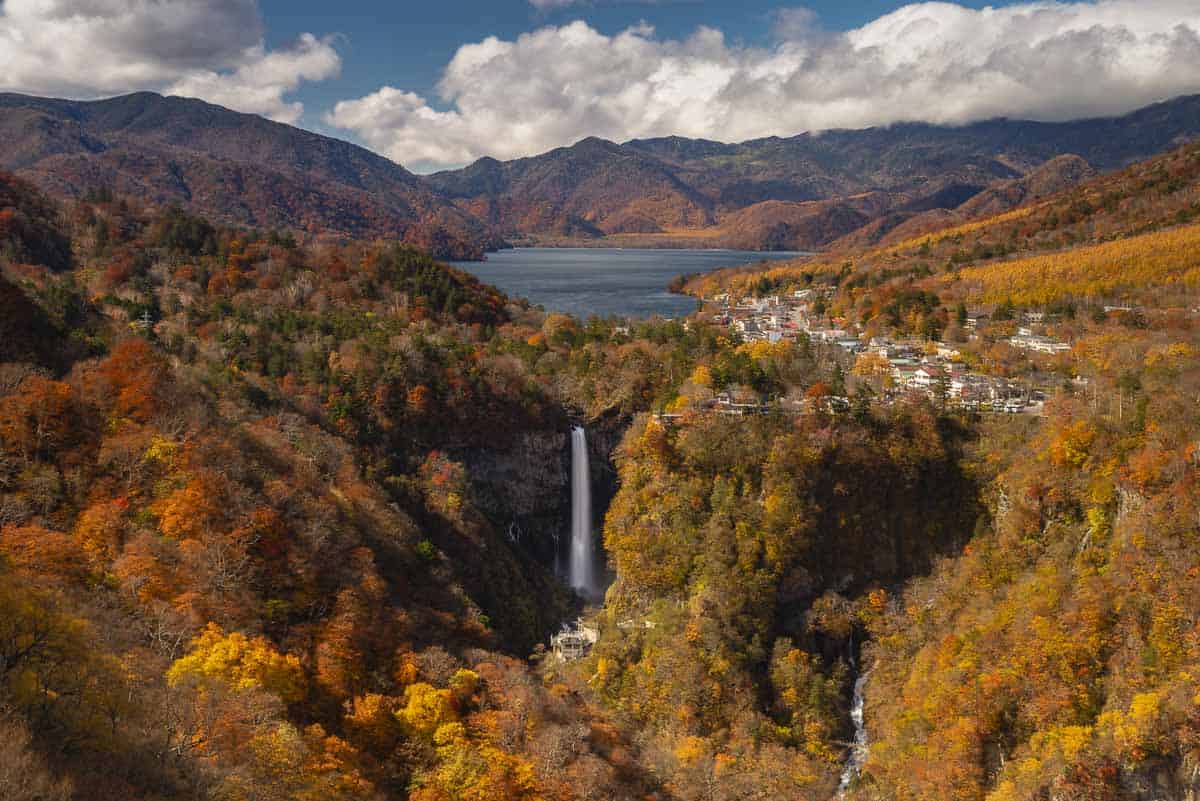
6. Add Foreground interest
Adding foreground interest can really set apart your landscape shots.
Adding something in the foreground like rocks, flowers, or water can help balance out the scene.
It is also important to help draw the viewer into the photograph.
Leading lines do a perfect job of keeping the viewer’s eye from wandering in a photo.
Look for textures in rocks, rivers, fences, or anything that will draw your eye into the middle of the photograph.
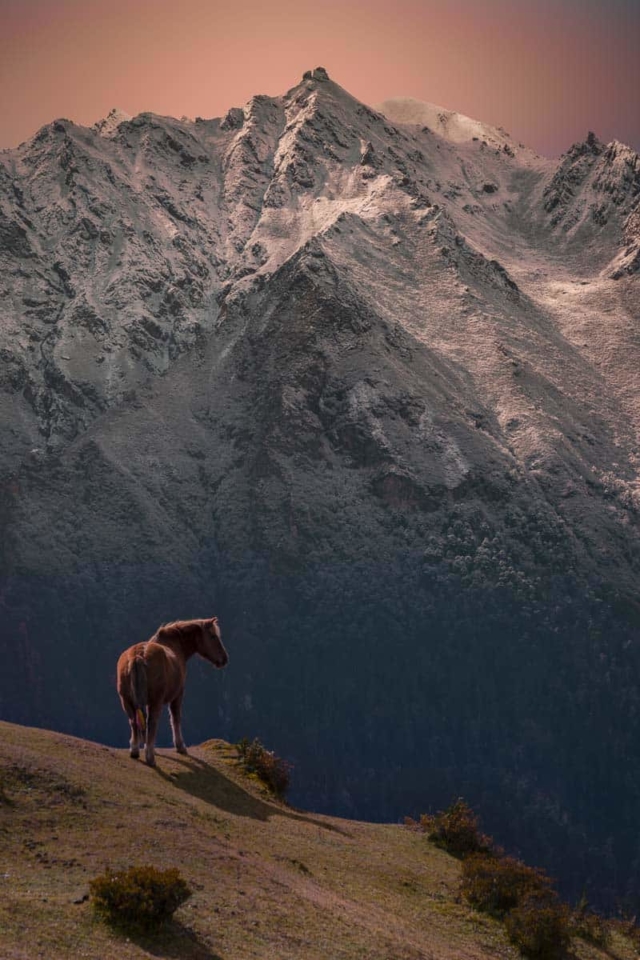
7. Get creative with scale
The goal of a great landscape photo is to transport the viewer to that place.
Some natural landscapes can do that effectively on their own and others need a little help.
If you are photographing a wide-open space like a desert, or someplace with not a lot of texture then try and put a person in the shot.
By showing them against a vast background you can convey the feeling of just how huge the place it that they are looking at.
This can take a photograph that may look boring and change it into something with far more impact.
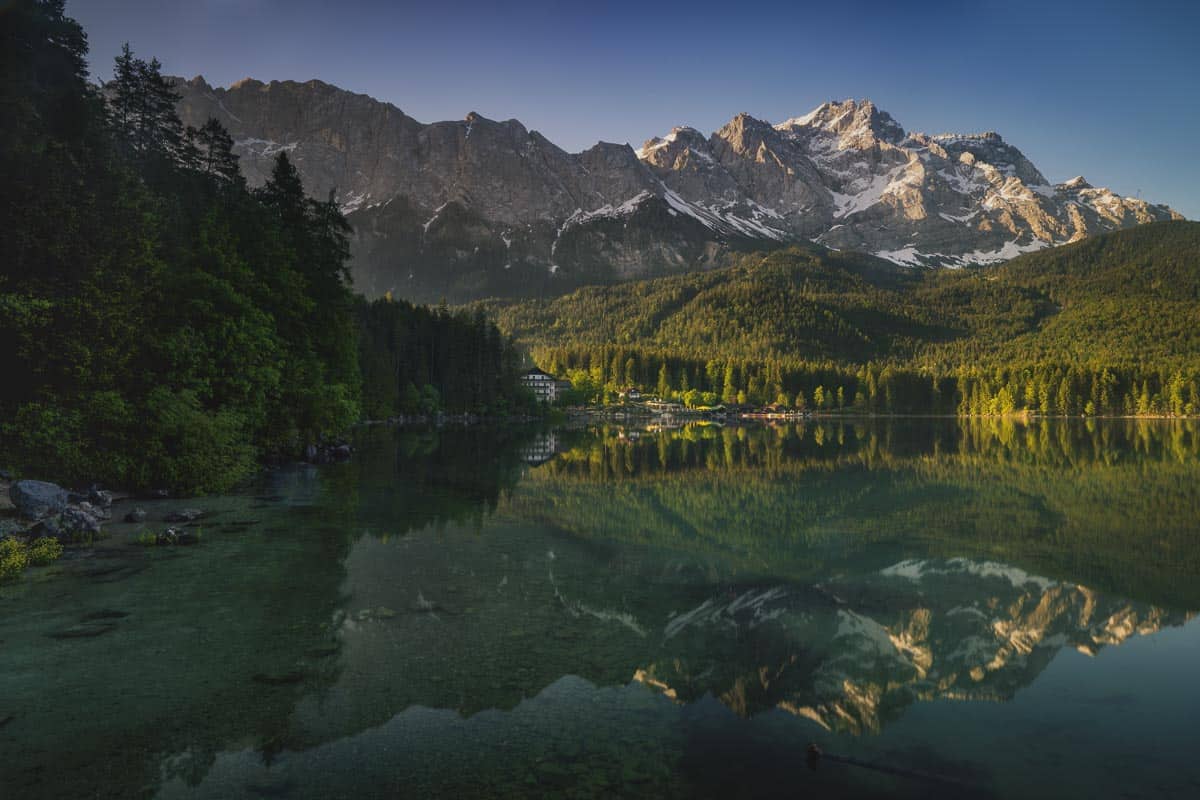
8. Use Neutral Density and Polarizing Filters

Getting it right in the camera has always been a philosophy of mine. The less I have to do when post-processing the better the image usually is.
Neutral Density filters and polarizers are an essential part of any landscape photographers kit because they give you some control over the light and help you enhance certain natural elements.
Neutral Density Filters
One of the biggest challenges in landscape photography is balancing the light between the foreground and the sky.
The sky is almost always brighter than the foreground and achieving the balance between the two usually needs some help.
This is where Gradual Neutral Density filters can help immensely.
They can help to darken the sky while keeping the foreground lighter and bringing balance to the scene.
Pro tip: You can replicate this in post production if you need to but it is always better to get it right on location.
I also use Solid Neutral Density Filters.
These are mostly used when I want to achieve a slow shutter speed effect like silky water or streaky clouds.
These allow me to control the amount of light coming into the camera so that I can slow my shutter speed down and add the element of motion to my photos.
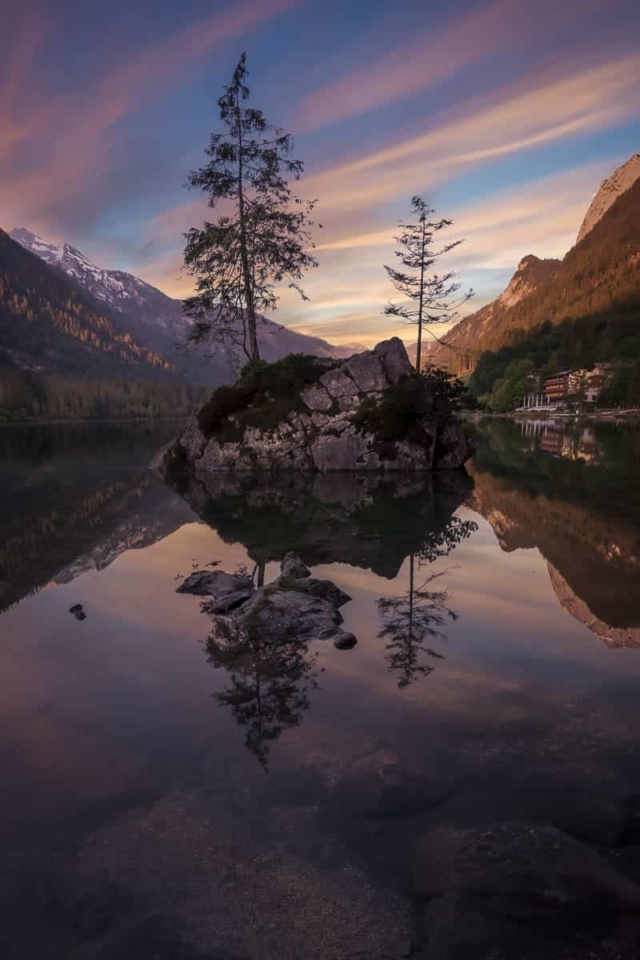
Polarizing Filters
Polarizing filters can come in handy when you want to get rid of unwanted reflections when you are photographing water or if you want to saturate the colors, like if you were photographing a green, lush forest.
Just remember that they are only really effective if the sun is at a 45 or 90-degree angle to the sun.
If it is directly in front of you they will have little to no effect.
9. Turn off your VR or IS (Vibrations Reduction, Image Stabilization)
If you are shooting on a tripod it is good practice is to shut off this feature on your lens.
Image Stabilization (and vibration reduction) lenses look for vibrations in your camera in order to reduce it – if they don’t find any they actually can cause it – and as a result actually cause camera shake making for an out of focus image.
10. Use a Remote Shutter Release or 2 Second Timer
When using longer exposure times you want to eliminate touching the camera to press the shutter button as this can cause camera movement and an out of focus image.
The way to eliminate this is to use a Remote Shutter Release.
This will allow you to take the photo without touching the camera.
If you do not have one most DSLRs and Mirrorless cameras are equipped with a timer function and you can use that instead.
Final Thoughts
Landscape photography doesn’t have to be difficult.
By implementing these landscape photography tips you will be able to improve your photos and help improve your skillset.
Read More About Photography
Thanks for your information. I’m also photographer. really I learn something in your post. thanks for share your valuable information.
Very good article! It is very helpful to get great photos.
Very good tips. A small comment on number 5: some of the best landscape photos we’ve seen are actually taken using telephoto lenses. On one hand, using a telephoto lens would differentiate you from the mobile phone photographers (who are getting lucky from time to time, but because they are so many, you get to see more and more beautiful pictures taken with phones, hard to compete with them), on the other hand it brings subjects that are far away closer to each other (like in the picture with the horse on tip number 6).
Each photo shared above is a masterpiece. In short, Nature at its Perfection an so is the photography. Well Done!
Amazing photographs. If I have to choose, no 4 looks magical, but the rest of the photos are also very very fulfilling. Great job.
One question. Whats the location for number 8?
It is the 12 apostles in Australia 🙂
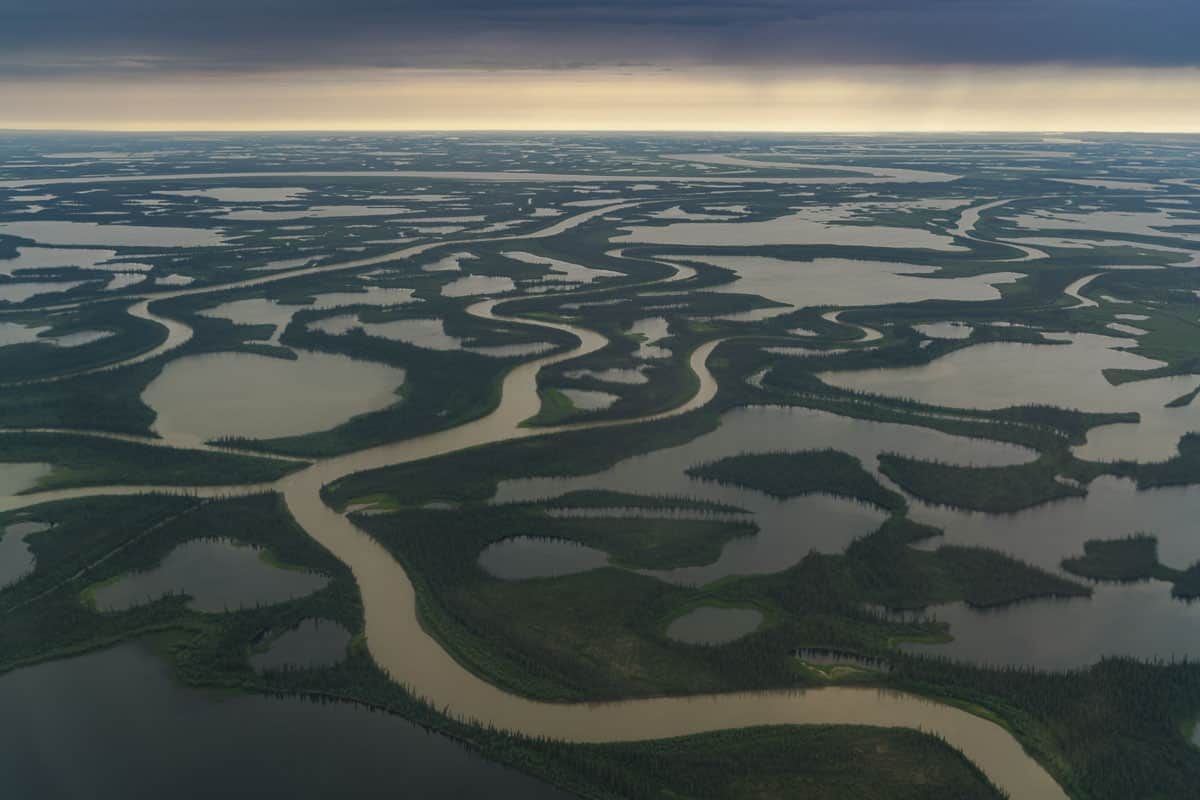
Wow — this might sound dopey, but it never occurred to me that you guys did all of that prep (the apps, and Google Earth). The opening shot you use here is stunning. I’m not quite ready to invest in some of the equipment here, but just learning about them gave me some a ha moments… Thanks, Dave!
Not dopey at all Abby. Yes, Dave really plans his shots when he can. Glad we could give you some aha moments. I love those.
Great tips for people who take their shots seriously.
The tripod tip is one of the best IMO; too many people don’t worry about it and I think it’s a vital tool to getting the best pictures.
Also…phenomenal shots throughout!
Thank you, much appreciated. Yes, I carry my tripod with me everywhere. It’s essential
Great post. My tripod has helped me get some of my best shots.
Amazing photographs !!! These are really informative tips , when we look at a landscape, our eyes travel over it and selectively focus on the elements that we find appealing. Our field of vision encompasses a great deal of the scene, but our eyes and brains have the ability to ignore all except the most alluring details.
Great tips, Dave. Your photography always draws us in. Do you have any tips for making the best of the lighting when your travel schedule only permits you to shoot in the worst lighting, like midday?
Hopefully I can also have that kind of beautiful photos by following your tips!
Great tips guys! And holy S%$#t do you guys ever have awesome photos! haha Hope you are doing well!
Really great tips here! I think people take landscape photography for granted and assume it’s a simple point and click type of subject… but that’s definitely not the case 🙂
Love all your photos as always.
Great tips, I especially like your get creative with scale. Excellent idea because most photographers want zero people in their photo, but that 1 solo person can provide an interesting touch. “More Photography Tips“
WOW. Your photography is amazing. Thank you for those tips, it has inspired me to get outdoors more and “capture the beauty of life within the lens”. Something I have learnt when trying to take photos is that “patience is the language of nature” -I often find I must not rush and just sit, wait and enjoy the process.